Tech
How To Use Adobe Photoshop Generative Fill To Improve Your Photos

(CTN NEWS) – Are you tired of spending hours editing your photos in Photoshop? Do you want to find a quicker and more efficient way to enhance your images?
Look no further! In this comprehensive guide, we will explore the power of Adobe Photoshop Generative Fill and discover various ways to improve your photos effortlessly.
From removing unwanted objects to creating stunning backgrounds, Generative Fill is a game-changer in the world of photo editing.
Introduction to Adobe Photoshop Generative Fill
Adobe Photoshop Generative Fill is a cutting-edge feature introduced in the latest versions of Adobe Photoshop.
It utilizes advanced machine learning algorithms to analyze the content of your images and generate realistic and seamless textures to fill in selected areas.
This powerful tool can save you valuable time and effort while producing professional-looking results.
Removing Unwanted Objects
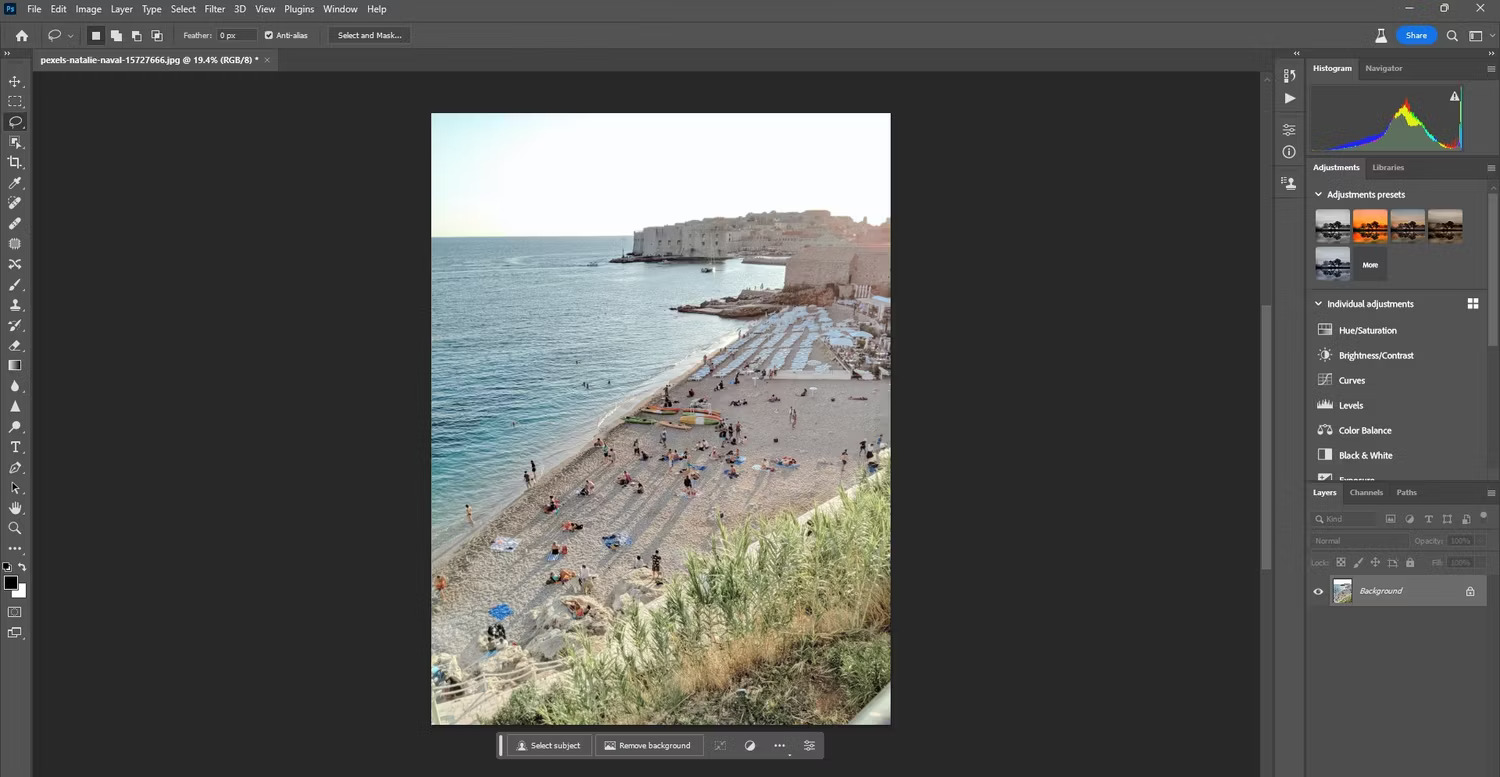
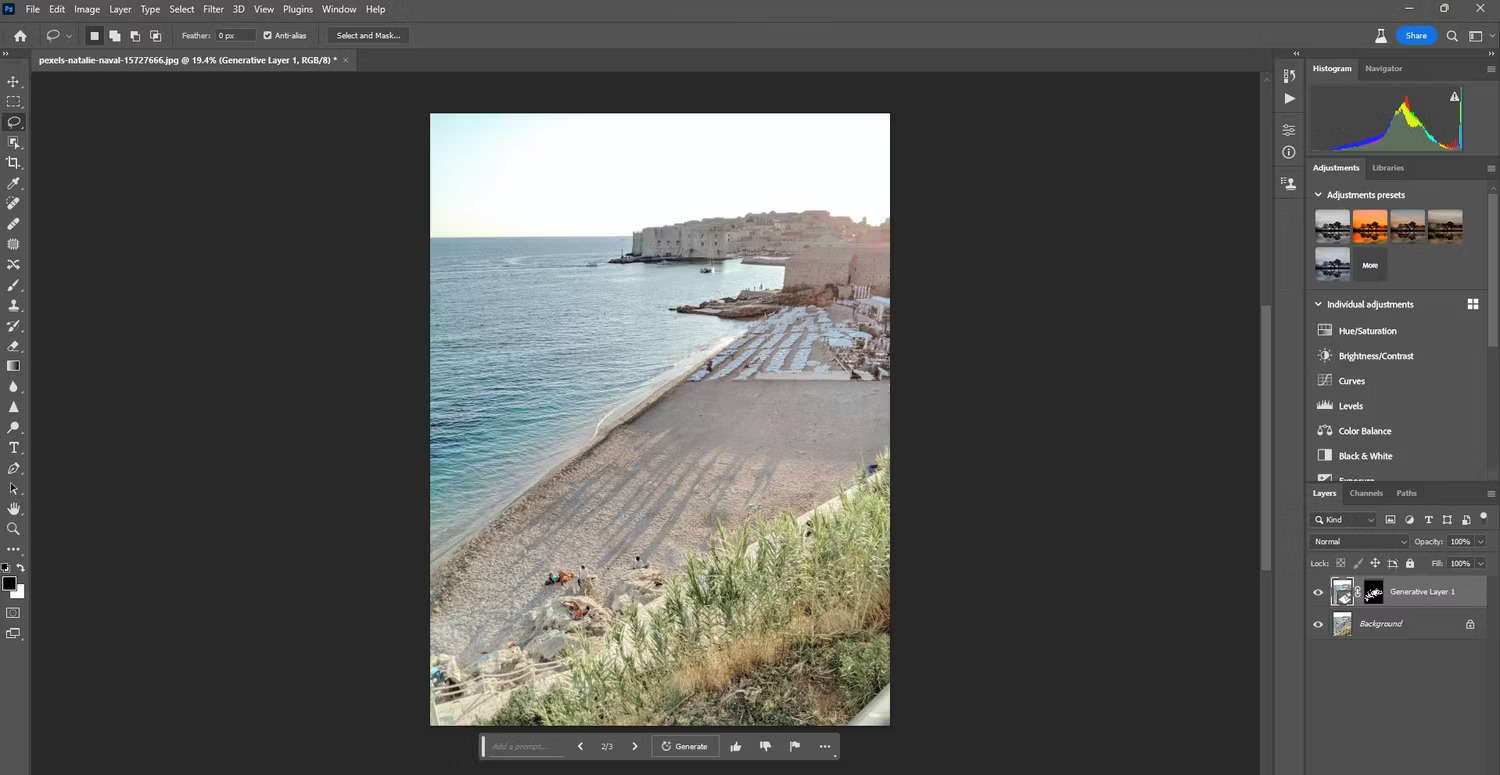
Have you ever captured a perfect shot, only to find an unwanted object ruining the composition? With Photoshop Generative Fill, you can bid farewell to those annoying distractions. Here’s how:
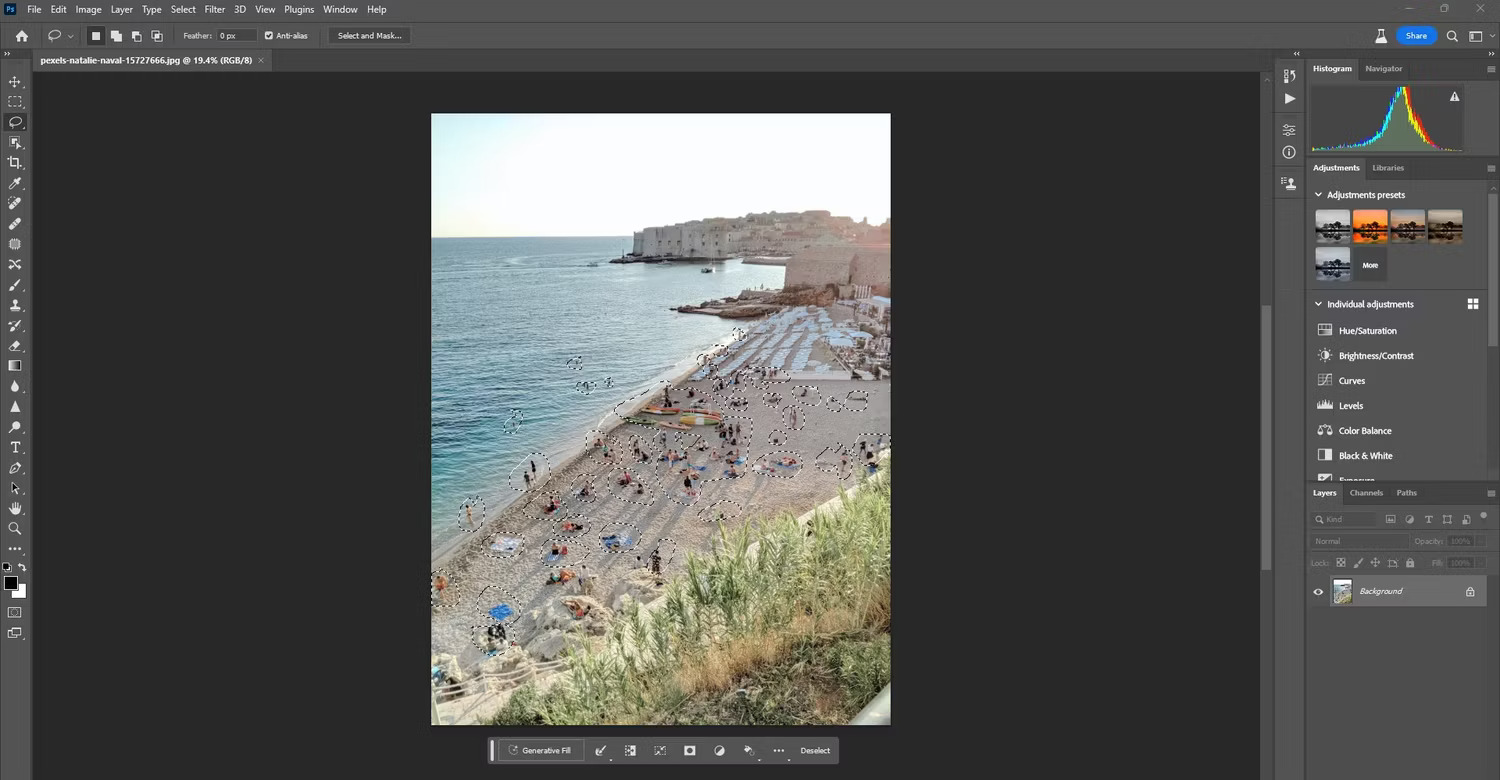
- Select the Unwanted Object: Use the selection tools in Adobe Photoshop, such as the Lasso or Quick Selection tool, to isolate the object you want to remove.
2. Invoke Generative Fill: Right-click on the selected area and choose “Fill” from the context menu. In the Fill dialog box, select “Content-Aware” as the fill type.
3. Refine and Preview: Adjust the settings and use the preview window to ensure a seamless result.
4. Apply and Enjoy: Click “OK” to apply the Generative Fill and witness the magic as the unwanted object disappears, leaving behind a pristine image.
Enhancing Backgrounds
Sometimes, a dull or cluttered background can detract from the main subject of your photo.
With Adobe Photoshop Generative Fill, you can effortlessly transform lackluster backgrounds into visually appealing ones. Follow these steps:
- Select the Background: Use the selection tools to choose the area you want to enhance.
- Invoke Generative Fill: Right-click on the selected area and choose “Fill.” This time, select “Pattern” as the fill type.
- Choose a Pattern: In the Fill dialog box, click on the “Pattern” drop-down menu and explore the vast collection of patterns available in Photoshop. Select one that complements your image.
- Adjust and Preview: Tweak the settings to achieve the desired effect and utilize the preview window to evaluate the outcome.
- Apply and Marvel: Click “OK” to apply the Generative Fill and witness the background transform into a captivating backdrop that highlights your subject.
Fine-Tuning Skin Tones
Capturing flawless skin tones is a common challenge in portrait photography. Thanks to Photoshop Generative Fill, you can refine skin tones with ease. Here’s how:
- Select the Skin Area: Use the selection tools to isolate the skin area you want to adjust.
- Invoke Generative Fill: Right-click on the selection and choose “Fill.” In the Fill dialog box, select “Color Adaptation” as the fill type.
- Adjust the Skin Tone: Use the color picker to select a reference color that matches the desired skin tone. Photoshop will adapt the colors in the selected area accordingly.
- Preview and Perfect: Evaluate the result in the preview window and make any necessary adjustments until you achieve a natural-looking skin tone.
- Apply and Admire: Click “OK” to apply the Generative Fill and witness the transformation of the skin tones in your image.
Creating Artistic Effects
Adobe Photoshop Generative Fill not only serves practical purposes but also offers a plethora of opportunities for creative expression. Unleash your artistic side with these steps:
- Select the Desired Area: Use the selection tools to choose the area where you want to apply an artistic effect.
- Invoke Generative Fill: Right-click on the selected area and choose “Fill.” This time, select “Texture” as the fill type.
- Explore Textures: Click on the “Texture” drop-down menu in the Fill dialog box and browse through a wide range of textures. From brush strokes to fabric patterns, you’ll find endless possibilities to enhance your image.
- Adjust and Visualize: Play with the settings to adjust the texture’s scale, brightness, and contrast. Utilize the preview window to see the effect in real-time.
- Apply and Amaze: Click “OK” to apply the Generative Fill and witness your image transform into a unique and captivating work of art.
Conclusion
With Adobe Photoshop Generative Fill, enhancing your photos has never been easier.
Whether you’re removing unwanted objects, improving backgrounds, fine-tuning skin tones, or adding artistic effects, this powerful tool streamlines your workflow and elevates the quality of your images.
Embrace the future of photo editing and unlock your creative potential with Generative Fill!
RELATED CTN NEWS:
AI Tools For Astrophotography: Capturing The Cosmos Like Never Before
10 Best PDFsam Alternatives: Unlocking Powerful Document Management Solutions
PDFsam: The Ultimate PDF Split And Merge Tool – PDFsam.org


