Tech
How to Transfer Photos from iPhone to PC Effectively
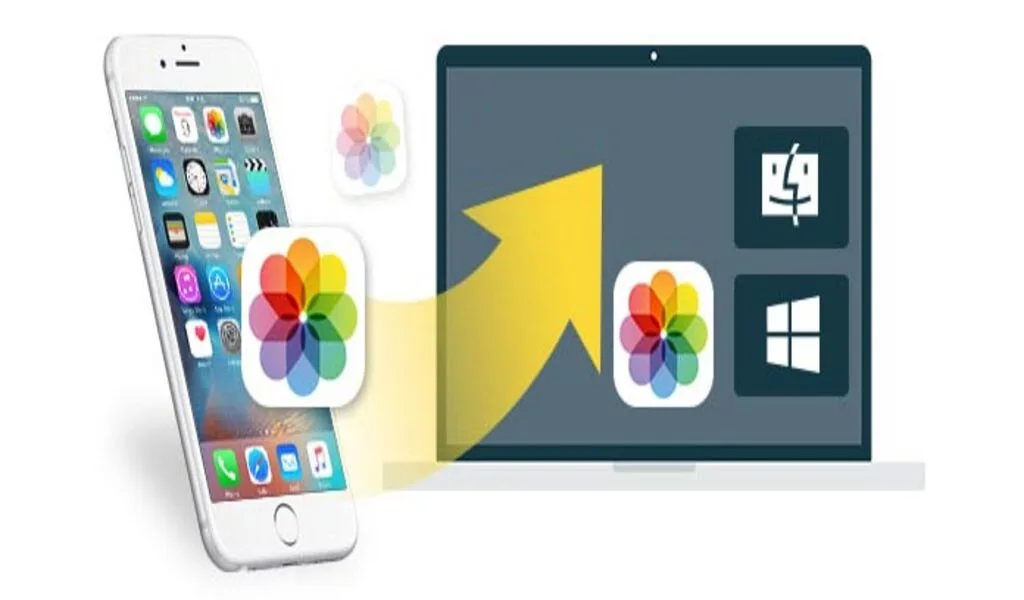
With the ever-increasing quality of iPhone cameras, we often find ourselves capturing moments worth preserving. However, these high-resolution photos can quickly fill up your iPhone’s storage. Transfer photos to your PC not only frees up space but also ensures your memories are safely backed up. In this guide, we’ll explore three distinct methods to transfer photos from your iPhone to your PC effectively, catering to various preferences and needs.
Method 1: Streamlined Transfer Photos from iPhone to PC with FonePaw DoTrans
The first and highly recommended method is to use FonePaw DoTrans. Compared to cloud-dependent methods like iCloud or iTunes, FonePaw offers faster transfer speeds. You won’t need to perform a backup before downloading files to your computer, saving you time and effort.
This third-party software supports swift cross-system transfers, allowing you to exchange data between Android and iOS devices, as well as Android/iOS devices and Windows/Mac. It imposes no limits on the quantity or size of the files you transfer, and you can freely preview and select the content you wish to move. Plus, FonePaw DoTrans offers a reasonable and adorable price, making it a cost-effective choice compared to similar software.
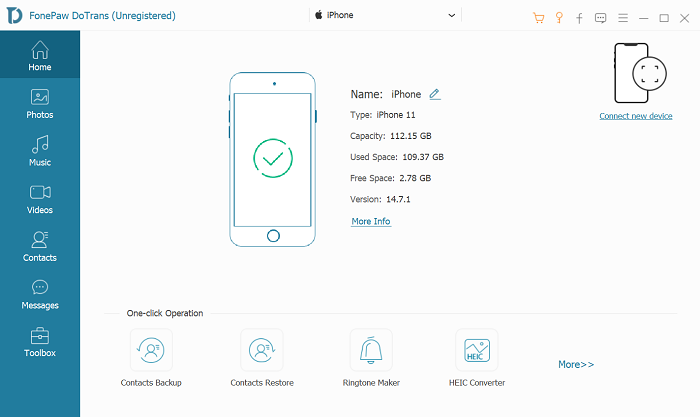
As you can see below, FonePaw DoTrans comes with an intuitive UI. Even though you’re a beginner, you can easily handle it by yourself. Now, follow the step-by-step guide and check out how to transfer photos from iPhone to PC seamlessly.
Step 1. Download and install FonePaw DoTrans on your PC. For Mac users, you can download FonePaw iOS Transfer, and then operate in the same way.
Step 2. Launch the software and connect your iPhone using a USB cable. If you don’t have a USB nearby, you can also connect via WiFi. After the connection, the software will automatically recognize your device.
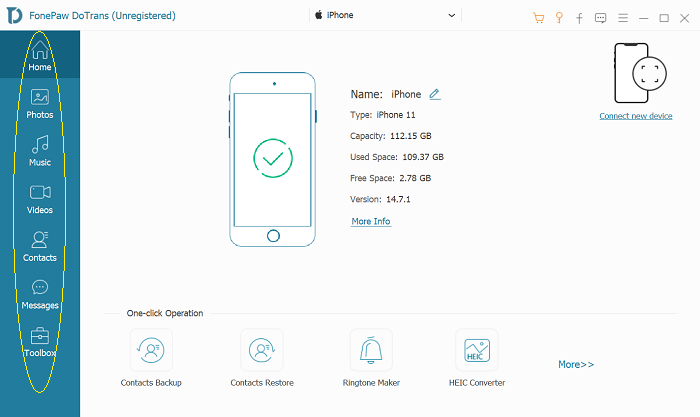
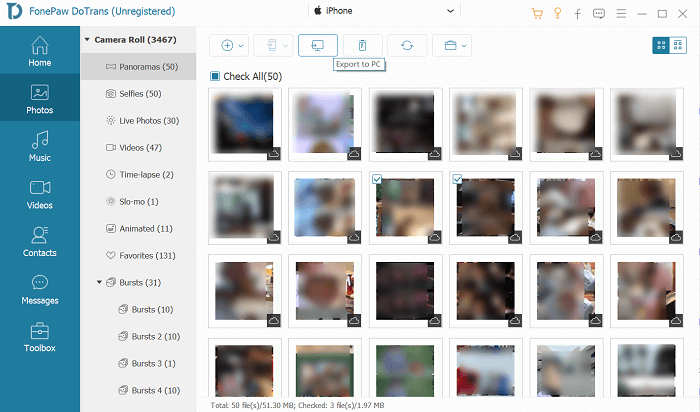
Step 3. On the left sidebar, you’ll see several file types. Navigate to the “Photos” section within the software, choose the photos you wish to transfer, and preview them.
Step 4. Finally, click the “Export to PC” option and select a destination on your computer and initiate the transfer.
Note: If you are a Mac user, we also recommend you to try the FonePaw iOS Transfer, which is used as an iTunes alternative coming with more features that better suit macOS.
Pros
- User-friendly interface.
- Ability to preview photos before transferring.
- Selectively transfer photos with the original definition.
- Support the latest OS systems and various phone models.
- Connect with USB or just via WiFi.
Cons:
- There might be a cost associated with the full version.
Method 2: Seamlessly Sync Photos to PC with iCloud Photos
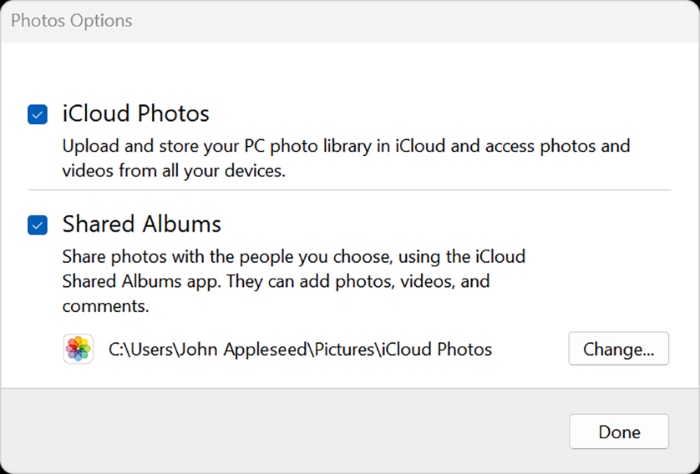
iCloud Photos, an Apple cloud service, provides a seamless way to store and access your photos across devices. Once you’ve enabled iCloud Photos, all your previous memories will be automatically uploaded and stored securely in the cloud. Then you can access them from iPhone, iPad, Mac, and the iCloud website easily. However, it’s important to note that iCloud Photos relies on an active internet connection and your storage space might be limited based on your iCloud storage plan.
Step 1. On your iPhone, go to Settings > [your name] > iCloud > Photos, and enable “iCloud Photos”.
Step 2. On your PC’s web browser, navigate to icloud.com and sign in with your Apple ID.
Step 3. Open the “Photos” section, select the photos you want, and click the download button to save them to your PC.
Pros:
- Integration within the Apple ecosystem.
- Accessible from any device with an internet connection.
- No additional software is required.
- Securely backup files on the cloud.
Cons:
- Limited free iCloud storage.
- Relies on an active internet connection.
Method 3: Wired Transfer Photos to Computer Using USB Cable
Transferring photos via a USB cable is the most straightforward and reliable way especially when you have a lot of items to move at a time as the cloud-based approach could rely on the internet speed and may be time-consuming when you don’t have a good signal. This method is available for both Windows PCs and Macs. Check the following steps and see how to do them respectively.
On Windows PC
Step 1. Use a USB cable to connect your iPhone to the Windows PC.
Step 2. If prompted on your iPhone, tap “Trust This Computer.”
Step 3. Then, click the “Start” button, and open the Photos app on your PC.
Step 4. Hit “Import” and then “From a USB device”. You have the option to select the specific items you wish to import and indicate the destination for saving them. Give it a little time for detection and the transfer process.
Pros:
- Direct transfer without reliance on the Internet.
- Faster transfer compared to Bluetooth or WiFi.
- More secure and stable than wireless connection.
Cons:
- Time-consuming for large batches of photos.
- Limited organization options.
- Limit mobility and convenience.
On Mac
Step 1. Link your iPhone to your Mac using a USB cable and launch the Photos application on your Mac.
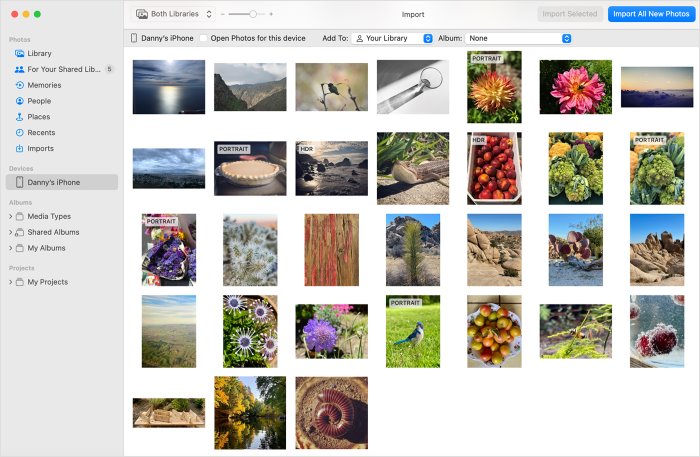
Step 2. Then click your device’s name on the left sidebar, and you’ll see all the pictures and videos from your connected device.
Step 3. Next, decide on the location where you desire to transfer your photos. You can either select an existing album or craft a new one by clicking the option next to “Import to”.
Step 4. Finally, opt for the photos you intend to import and press “Import Selected”, or choose “Import All New Photos”. When the process is done, you can get all photos on your Mac.
Pros:
- Direct transfer without third-party software.
- Utilizes native Mac file management.
- No internet connection is required.
Cons:
- May lack advanced organizational features.
- Selective transfer options can be limited.
Conclusion
In this guide, we’ve explored three effective methods for transferring photos from your iPhone to your PC, each with its own strengths and considerations. Among these methods, FonePaw DoTrans emerges as a powerful solution that bridges platforms, combining convenience, versatility, and speed.
Its user-friendly interface, support for both Windows and Mac systems, and the ability to selectively transfer photos make it a standout choice. While there might be a cost associated with its full range of features, the efficiency and control it offers could make it a valuable investment for managing your cherished memories.

