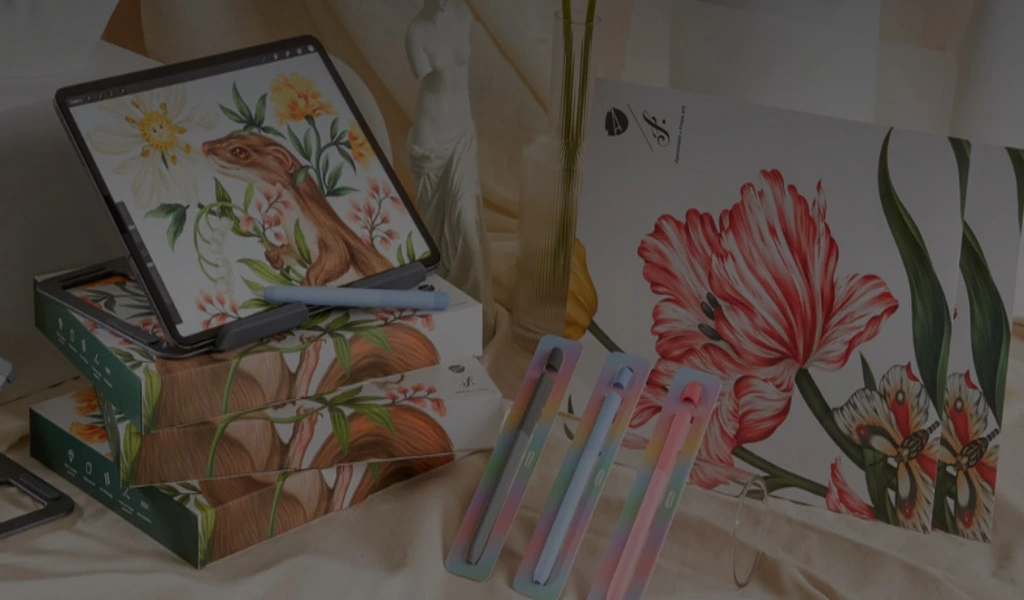
It might be simple to overlook certain tried-and-true methods for speeding up your productivity when Procreate receives more regular upgrades.
Whether you’re a seasoned Procreate user or just starting, we’ll go through the seven features and gestures that we think are essential for using the app with simplicity.
1. COLOR PALETTE
Mid-Century artwork is easily recognized by its use of bright, clashing colors. When dealing with a color palette that is not very complex, it is essential to have quick access to all colors.
The Color Palette Panel in Procreate has a user interface that is both friendly and natural to work with. A color picker may be accessed by clicking the square outline icon on the toolbar’s left side.
You can sample color by dragging this over it, and it will show up in the color circle in the main menu.
You will see that there is an option for you to change the Palette to the ‘Default’ option. If you follow these steps, the Palette will remain active even after moving on to the other color-setting windows.
You also have the option to erase a color swatch by clicking and holding on the square that contains the swatch and then selecting the “Delete” option from the context menu.
Alternatively, you may slide to the left and then press the ‘Delete’ button to remove the whole Palette.
You may take Procreate courses if you’re having trouble figuring out how to use certain parts of the program, and this will allow you to progress much more quickly.
You can access the same global color palette in all your documents.
2. COLOR DROP FILL
The color drop option is another helpful tool that greatly reduces prep time. Make sure the outline you draw around the area you wish to fill is entirely closed, and there are no gaps in it.
To fill in the space, move the color circle located in the top menu down into the shape.
3. LIQUIFY
Liquify can produce insane images that appear like gateways to another universe when used carelessly.
On the other hand, when used in moderation, Liquify can give genuine ripples to forms and strokes. Liquify can be compared to a psychedelic time machine.
The perfect tool for sketching coffee vapor or roughening up the margins of an outline!
The Liquify options may be accessed through the drop-down menu located in the Adjustments Panel. Choosing this option will show a list of preferences at the bottom of the screen.
You have the option of selecting either “Push,” “Twirl Right,” “Twirl Left,” “Pinch,” “Expand,” or “Crystals.”
4. SYMMETRY
The Symmetry tool is another outstanding addition made available in a recent release. The community around Procreate went crazy over it, and they filled Instagram with beautiful, complicated designs.
However, even if painting mandalas isn’t your thing, you could find that this technique is helpful for the way you normally draw.
When you turn on symmetry, your changes will be duplicated on the other side of the canvas.
The Symmetry options may be accessed by opening the “Actions” panel and activating the “Drawing Guide” toggle in the “Canvas” menu. Tap ‘Edit Drawing Guide’ (below the toggle).
You have the option of going with either horizontal, vertical, quadrant, or radial symmetry. Simply returning to your canvas by tapping the “Done” button.
Press the thumbnail of the layer you want to modify, and then tap the toggle for ‘Drawing Assist’ to turn off the symmetry settings.
5. QUICKSHAPE
One of the limitations of using Procreate for illustration has always been that it does not have any form tools.
Shapes like circles, rectangles, and triangles had to be drawn in a separate program and then imported into Procreate for usage.
On the other hand, such times now belong to the ancient history books.
QuickShape is a feature introduced in an earlier update, version 4.2. Make your rough outline into a polished, symmetrical form using this method.
To do this, finish drawing the contour of the form, then stop before closing the route. It’s almost as if magic, but the shape falls perfectly into place!
6. BRUSH SWITCH
If you keep your finger pressed down on the eraser tool in the top menu for a few seconds, it will change the brush to the one you now use for painting (and vice versa). This a piece of advice that is simple yet effective!
The texture effects are enhanced by switching between painting and erasing.
Related CTN News:
Copper Tube Bender | How to Bend Copper Pipe
Long Lasting Metal Laser Cutting Machine
How to Get Back to the 1980s with Your Electric Guitar String Set?
⚠ Article Disclaimer
The above article is sponsored content any opinions expressed in this article are those of the author and not necessarily reflect the views of CTN News


