


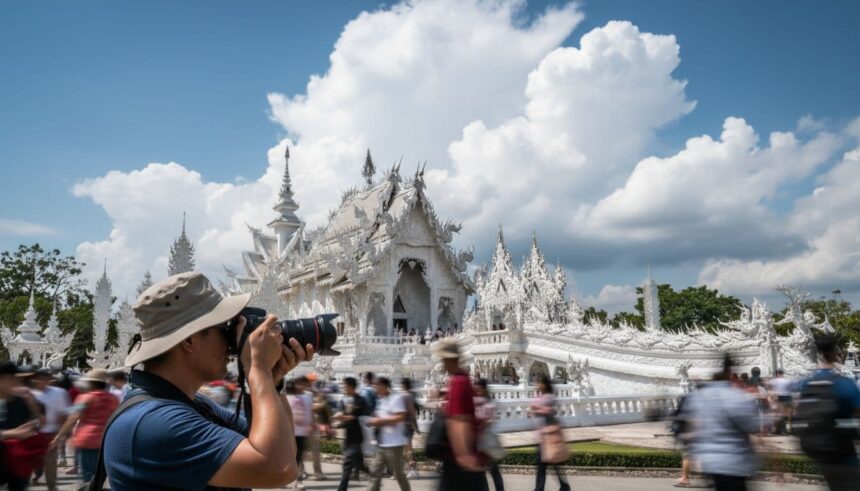
Crowds move fast at Chiang Rai’s temples, and they don’t wait for a clean frame. The sun can be harsh by late morning, with glare bouncing off white surfaces and turning details into a bright blur. It’s easy to blow highlights on bright buildings, then wonder why the “white” looks flat in your photos.
Blue and gold can also shift in weird ways, with blues turning purple and gold looking green. Indoors brings a different set of problems: low light, motion, and no-flash rules that many visitors forget. This guide shares Chiang Rai Temple Photography Tips with a simple plan that works for phone and camera users.
Quick Checklist Before You Enter Any Temple
Small prep steps save time later, and they keep things respectful.
- Clean the lens (phone glass and camera front element).
- Enable the grid on your camera app.
- Lower screen brightness (it helps judge exposure correctly).
- Switch to silent mode (no shutter sounds in quiet areas).
- Bring a spare battery or power bank.
- Pack a small microfiber cloth (mirror tiles love fingerprints).
- Carry water, Chiang Rai heat can sneak up.
- Dress modestly (shoulders and knees covered), and keep movements calm.
Fast phone setup for better temple shots
- Clean the camera glass, then check it in the light.
- Turn on the grid for straighter lines and symmetry.
- Tap to focus, then re-check what the camera chose.
- Use HDR only when the scene has deep shadows.
- Use the 2x lens if your phone has it (avoid digital zoom).
- Turn Live Photo off if it slows the camera.
- Lower brightness so you don’t underexpose by mistake.
Respect the basics that also help your photos.
Covering shoulders and knees avoids awkward moments at the gate. Step aside when people pray, it keeps the frames calmer too. Don’t climb on statues or decorative features. Watch for one-way walking paths, some temples manage foot traffic this way. Follow staff signs, rules can change by area and by day.
Best Time of Day for Temple Photos in Chiang Rai
Light does most of the work in Thailand temple photography. Early morning usually brings softer shadows, fewer faces, and less glare. Late afternoon can also be strong, with warmer colours and gentler contrast. Sunrise is the calmest window if a temple opens early, and golden hour can make gold details look richer without harsh reflections. Blue hour (just after sunset) can work well for exteriors, but it depends on site access and lighting.
For season planning and daylight patterns, the best time to visit Thailand guide helps set expectations before booking.
Why 8 AM style mornings often look best
Morning light is softer, and the air is cooler, which makes walking and waiting easier. Tour groups tend to arrive later, so frames are cleaner at popular spots. Shadows also look less “hard-edged,” which keeps carved details readable. Many famous sites open around morning hours, so arriving near opening can mean a short window with fewer people on bridges and entry paths.
Midday survival plan: harsh sun, glare, and bright whites
Midday happens, especially on day trips. The goal is simple: protect highlights and reduce glare.
Shoot from shade when possible; even a slight roof edge helps. Watch reflections off tiles and white plaster, and shift your angle if they spike—lower exposure slightly to keep detail in white areas. Use HDR only when shadows are deep and faces or doorways go too dark. Check the sky often, if it turns white, the exposure is too high.
Composition Tips That Work at Chiang Rai Temples
Chiang Rai temples reward simple composition. Many structures were designed for strong front-on views, repeating patterns, and clean lines. A quick plan also helps when moving between stops, especially on a tight schedule. For routing and timing between major sites, the Chiang Rai temple tour guide is a practical reference.
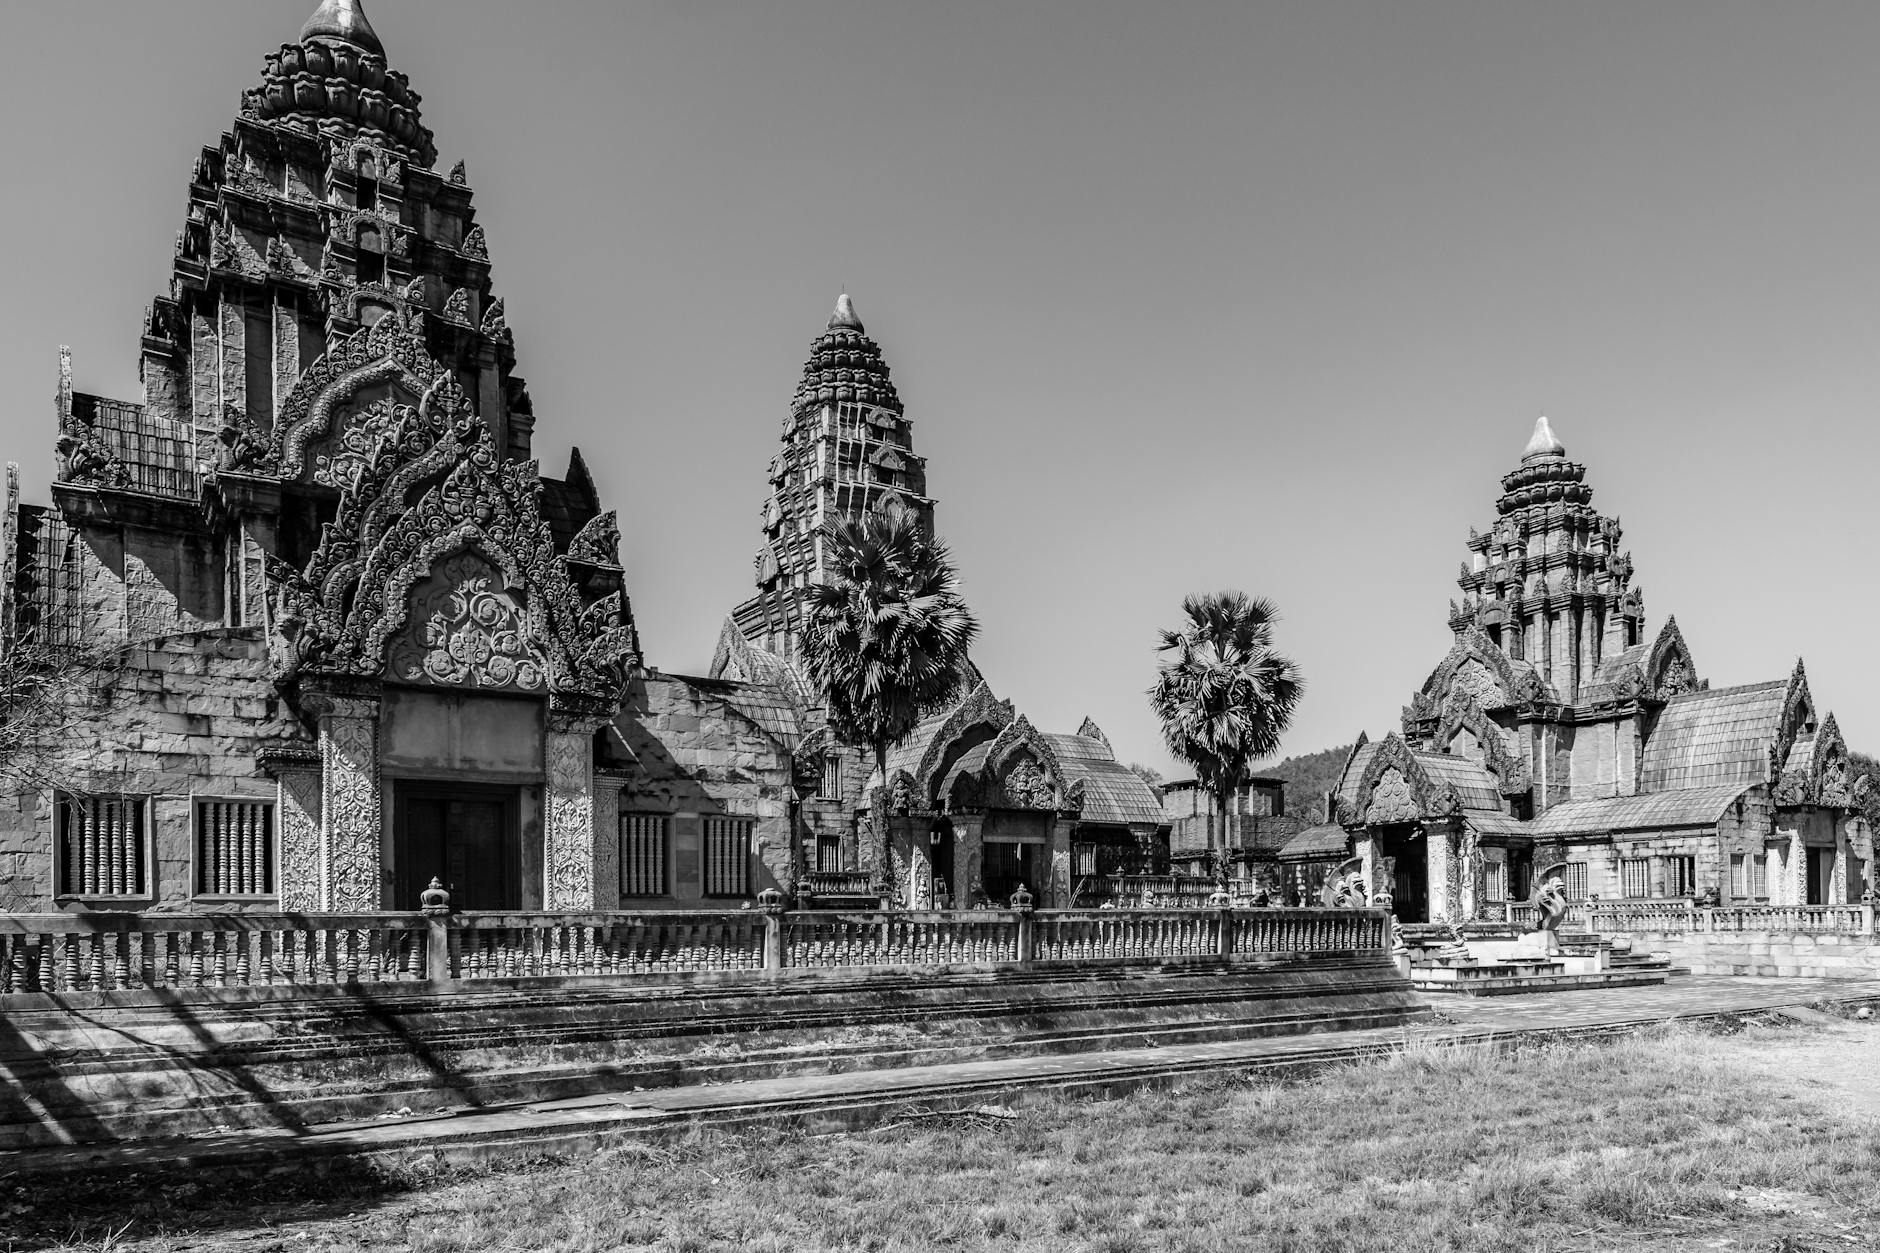
Photo by Kirandeep Singh Walia
Simple compositions: symmetry, leading lines, framing, reflections
Use the grid for centred shots, especially on main facades and entry bridges. If wide-angle distortion bends pillars, step back and zoom a little (2x on a phone often looks more natural). Crouching can clean up lines by removing parked carts, signs, or heads from the bottom edge. Wait for gaps in crowds rather than fight them; temples often “clear” in waves.
Reflections can add quiet drama. Look for water bowls, polished tile, and glossy floors. Even a small reflection can anchor a frame and reduce the need for people-free scenes.
Quick shot list for every temple stop
- 1 wide establishing shot (show the whole building and grounds)
- 1 centred front shot (symmetry and clean lines)
- 3 detail shots (hands, dragons, roof edges, mirror tiles)
- 1 texture shot (tile, carving, paint cracks)
- 1 people-from-distance shot for scale (only if it feels respectful)
- 1 exit shot using leading lines (path, stairs, corridor)
How to Photograph the White Temple (Wat Rong Khun)
White Temple photography (Wat Rong Khun) is mostly an exposure problem, not a gear problem. The white surfaces and mirror fragments can trick any camera into over-brightening the scene. Outside photography is generally allowed, but inside the main chapel it typically is not. Rules can change, so posted signs and staff directions matter more than outdated online advice.
Arriving near the opening often gives the best chance for clear bridge shots. Late afternoon can also help, with softer light and fewer blown highlights.
For a visitor-focused overview of logistics and expectations, this White Temple guide provides additional context: https://thirdeyetraveller.com/white-temple-chiang-rai/.
Exposure tips for bright white buildings and mirror glare
Slightly underexpose to protect detail in the white. If you can see texture in the white plaster on your screen, you’re close. Watch “sparkle points” from mirror chips; they can clip quickly, especially under midday sun. A polarising filter can reduce some glare on cameras, but it depends on the angle and won’t remove all reflections.
On phones, tap to focus on the white area, then slide exposure down a little. Use HDR only when shadows are deep and the highlights still hold detail.
Crowd-friendly angles that still look iconic
The bridge area can pack out fast. Arrive early, then take the wide shot first. If it’s crowded, shoot tighter details, dragons, hands, and textures still tell the story. Vertical framing helps hide side crowds and keeps lines clean. Side angles can also reduce the number of faces in frame, especially when the main viewpoint is blocked.
One-way walking paths mean you may only get one clean chance for certain angles. Be ready before stepping onto the main bridge.
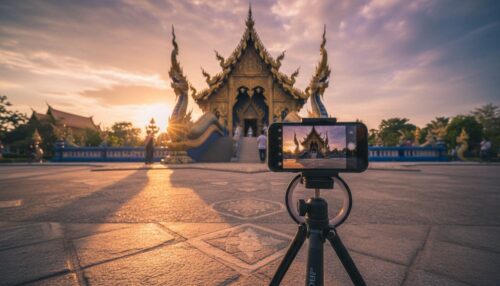
How to Photograph the Blue Temple (Wat Rong Suea Ten)
Blue Temple photography (Wat Rong Suea Ten) is often a colour problem. Blues can shift toward purple or neon, and gold can turn dull if white balance is off. Indoors is usually low light, and rules about indoor photos can vary by room. Signs and staff guidance should lead, not habit.
For another perspective on the main temples and what makes them visually distinct, this photo-led overview is useful: https://therestlessbeans.com/temples-in-chiang-rai/.
Colour control: white balance and saturation that still look real
If the blue looks neon on screen, pull back saturation in-camera if you can, or plan to reduce it in editing later. Adjust white balance until gold looks gold, not green, and the blue looks deep, not purple. Phones often do best in standard camera mode first, with filters turned off. Heavy filters lock in strange color and are hard to fix later.
Indoor low light without flash: sharp shots with steady hands
Brace your body before you press the shutter if a pillar is nearby, steady against it only if it’s allowed and you’re not blocking anyone. Use Night mode on phones when the scene is still. Take a short burst and pick the sharpest frame later. On cameras, raise ISO gradually and watch shutter speed, people moving through the frame need a faster shutter than you think.
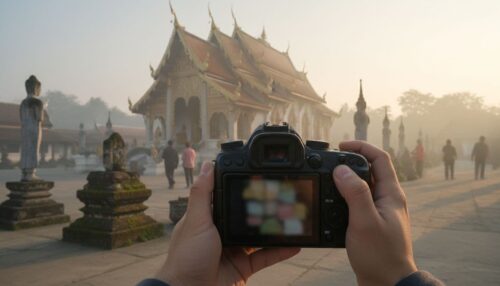
Hidden Temples: How to Get Unique Photos
Famous stops are worth it, but calmer photos often come from quieter places. Smaller temples also make it easier to shoot slowly, notice details, and stay out of the way.
A strong starting list is this guide to hidden temples in Chiang Rai. For broader trip planning, including transport and day-by-day ideas, the Chiang Rai travel guide 2025 helps set a realistic pace.
What to photograph when a temple is quiet
Incense smoke in soft light can add mood without staging anything. Hands placing offerings can work from a respectful distance, with faces kept out of frame. Look for worn steps, small bells, roof corners, and side shrines that most visitors skip. Details often tell a more actual story than the main facade.
Avoid close-ups of faces unless you ask. Quiet temples feel quiet because people treat them that way.
Phone Camera Tips (iPhone + Android)
Phone cameras can handle temples well if exposure and focus are controlled. Tap to focus on the brightest important area, then adjust exposure down for white buildings. Use HDR only when shadows are deep, and the sky still holds colour. Avoid digital zoom; it softens detail quickly. Use the 2x lens if available.
Portrait mode can look odd on statues and at roof edges, resulting in blurred cutouts. Use it carefully. A simple habit that helps is to shoot one “safe” version and one “creative” version, then compare later.
For extra temple-specific photo ideas, this practical roundup is a helpful companion: https://sarahadventuring.com/chiang-rai-temples-photo-tips/.
Camera Settings (Simple Guide for Beginners)
For daylight exteriors, keep ISO as low as possible. Many beginners let ISO drift up, then wonder why details look rough. Use f/5.6 to f/8 for crisp buildings and cleaner corners. Set shutter speed as needed for stability, especially if you’re handholding.
A tripod can help in quiet corners, but don’t block paths. Tripod rules vary by site. Be ready to handhold, and keep your setup compact when crowds build.
Indoor + Low Light Temple Photography (No Flash)
Flash can distract worshippers and flatten the scene. It’s also often not allowed. When flash is off-limits, stability becomes the main job.
Use these simple alternatives:
Stabilize: elbows in, slow breath, steady stance.
Shoot bursts: a single sharp frame often appears in a short series.
Raise ISO slowly: accept a little noise over blur.
Use a faster lens: if you have one, it helps more than a new body.
Night mode: helpful on phones when people aren’t moving much.
Follow posted signs, and if staff ask to stop, stop.
Temple Photography Etiquette (Quick Reminder)
Temple photos should never block worship. Don’t stop in walkways. Avoid flash where posted. Don’t photograph inside areas where it’s not allowed. Ask before close-up portraits, and keep voices low.
Rules vary by temple and by room, so the Chiang Rai temple etiquette guide is worth checking before a temple-heavy day.
5-Minute Editing Workflow (Keep It Natural)
A fast edit can fix the most common issues without making the photo look fake.
- Straighten lines first (pillars and doorframes show tilt fast).
- Crop for symmetry or a cleaner edge.
- Pull highlights down to recover white detail.
- Lift shadows slightly, avoid grey-looking blacks.
- Adjust white balance until whites look white and gold looks gold.
- Reduce saturation if blues look too intense.
- Add a small amount of clarity, then stop.
Common Mistakes (And Easy Fixes)
Crooked horizons: use straighten, then re-check vertical lines.
Blown highlights on white buildings: lower exposure, recover highlights.
Over-saturated blues: reduce saturation, then adjust white balance.
Wide-angle distortion: step back, zoom slightly, or correct lens in edit.
Cluttered backgrounds: change angle, wait for gaps, simplify edges.
Glare and reflections: shade the lens with your hand, use a polarising filter if you have one.
Final Tips + What I Do Every Time (Human Experience)
The routine stays the same, even when temples change. Arrive early when possible. Take one test shot at a safe distance before walking to the best viewpoint. Start with wide shots before crowds build, then switch to details and textures when people fill the central angles. Hunt for one reflection in each stop; sometimes it’s a water bowl, sometimes it’s a shiny tile. Leave space for worship, and don’t push past signs because rules can vary by temple.
Conclusion
Better temple photos in Chiang Rai come from better timing and calmer choices. Early light reduces glare and makes details easier to hold. Careful exposure keeps white buildings from losing texture, and simple colour checks keep blue and gold looking natural. Clean composition, especially symmetry and leading lines, makes crowded places feel more ordered. Respectful behaviour also leads to better frames, fewer interruptions, and a quieter experience. Keep edits subtle, follow posted rules, and listen to staff when guidance changes.